How to Remove a User Account in Windows 11
Do you know, how to remove a user account in Windows 11? If not, then this guide is made for you.
If you frequently share a Windows 11 device with another individual, you are likely aware of the importance of user accounts.
Instead of everyone having identical apps, files, and settings, you can effortlessly personalize and retain only the items that are truly relevant to you.
Nevertheless, there might arise a situation when you no longer require a particular user account. Microsoft provides various options for either temporary or permanent removal, and we will guide you through both of these methods in this article.
You can download Windows 11 Here: https://www.microsoft.com/software-download/windows11
How to disable a user account in Windows 11
By disabling an account, you prevent anyone from logging into it while preserving its files and settings. If you anticipate the possibility of using the account again in the future, this is the recommended option. Here’s a step-by-step guide on how to disable a user account in Windows 11:
1 – If you’re not already signed into an administrator account, please do so.
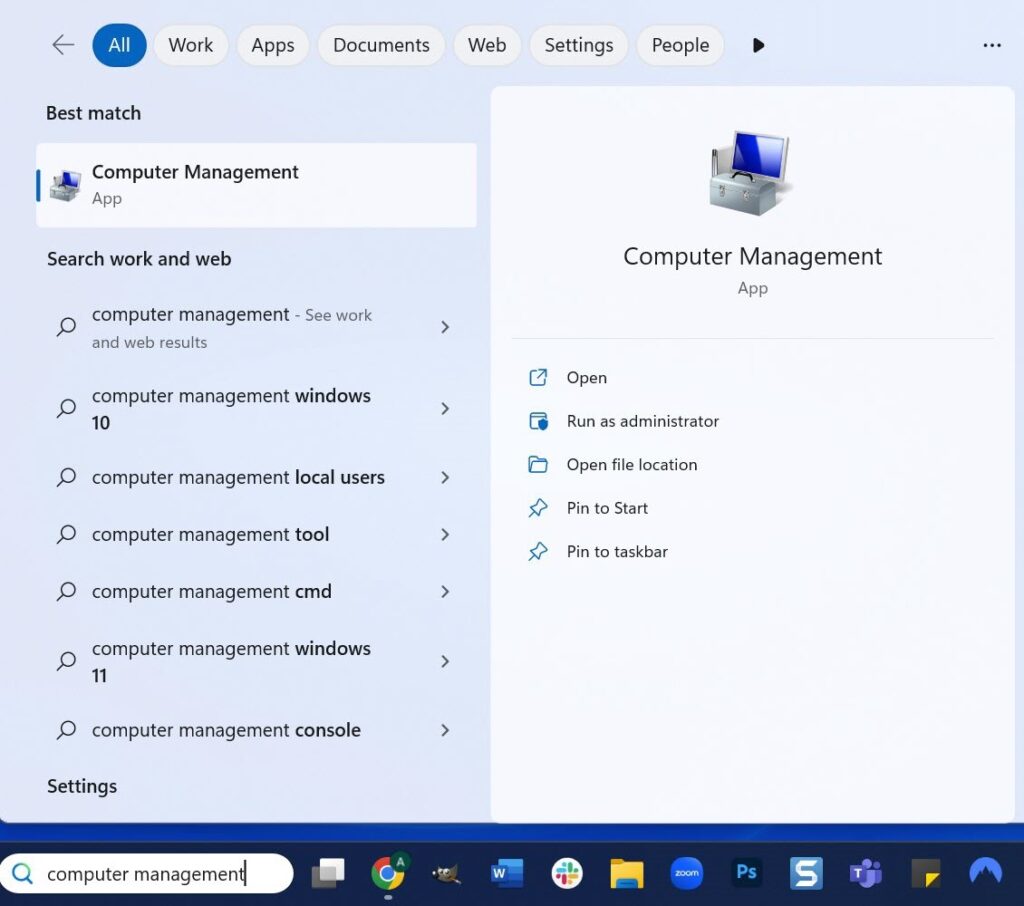
2 – Type ‘computer management‘ in the search bar located next to the Start menu.
3 – Click on the appropriate option to open the Computer Management application.
4 – From the left pane, select ‘System Tools,’ and then choose ‘Local Users and Groups.’
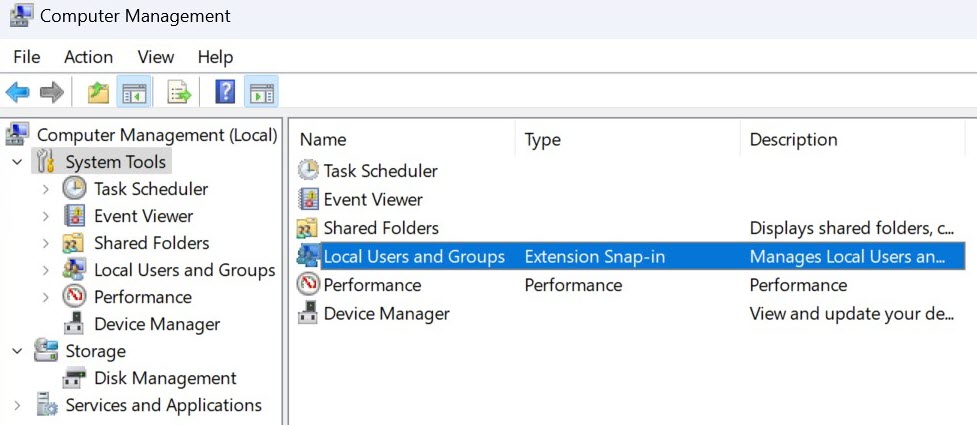
5 – To open the ‘Users‘ folder, simply double-click on it.

6 – To disable the user you desire, right-click on their account and select ‘Properties.’
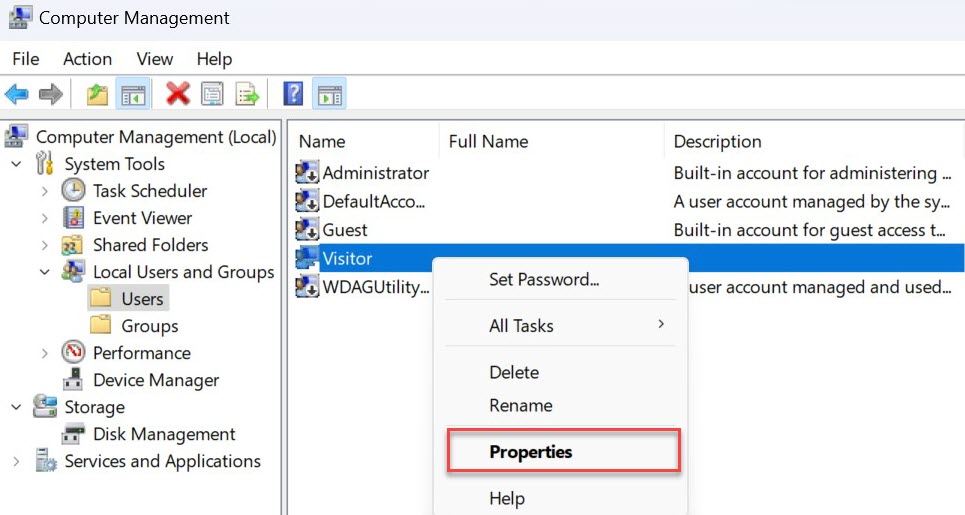
7 – Ensure that the ‘General‘ tab is selected at the top, then tick the box next to ‘Account is disabled.’
8 – After making the necessary changes, click on ‘Apply‘ and then ‘OK‘ to confirm your selection.
Upon completion, the user account will no longer be visible when you start your computer, and there will be no means to sign into it.
To undo this action at any time, simply follow the same steps mentioned above, but this time uncheck the ‘Account is disabled’ box instead.
How to delete a user account in Windows 11
If you wish to take an additional step, you have the option to completely delete an account. This action will eliminate all data linked to the account, including files, settings, and any user-specific downloaded apps.
If you’re not already signed into an administrator account, please do so. However, if you’re attempting to delete the administrator account itself, use another account, and a new administrator will be automatically assigned. Next, navigate to Settings > Accounts > Other Users.

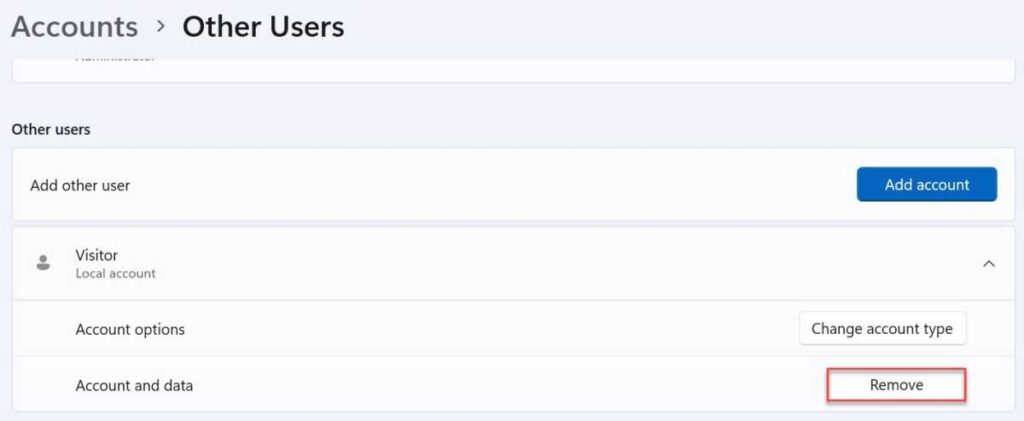
3 – Find the account you wish to delete and click on it to expand the available options.
4 – Then, next to ‘Account and data,’ click on ‘Remove.‘
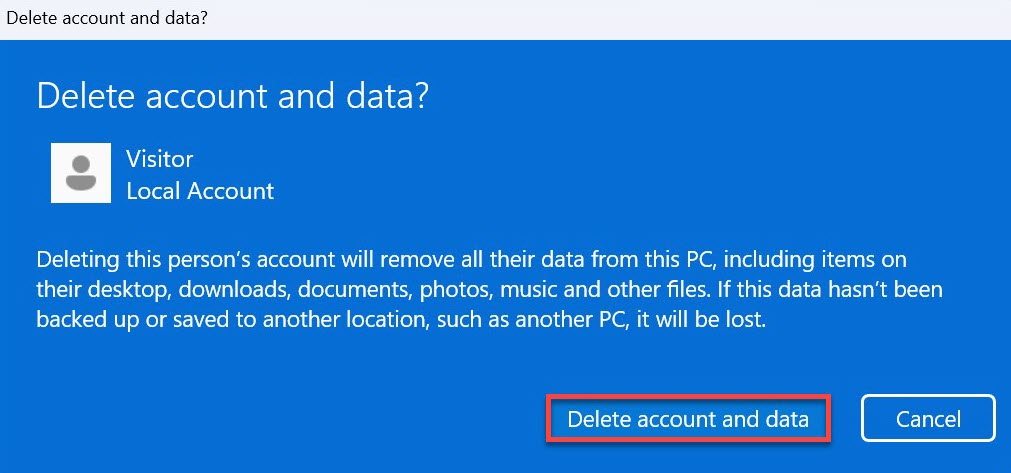
5 – Within the pop-up window that appears, click on ‘Delete account and data.’
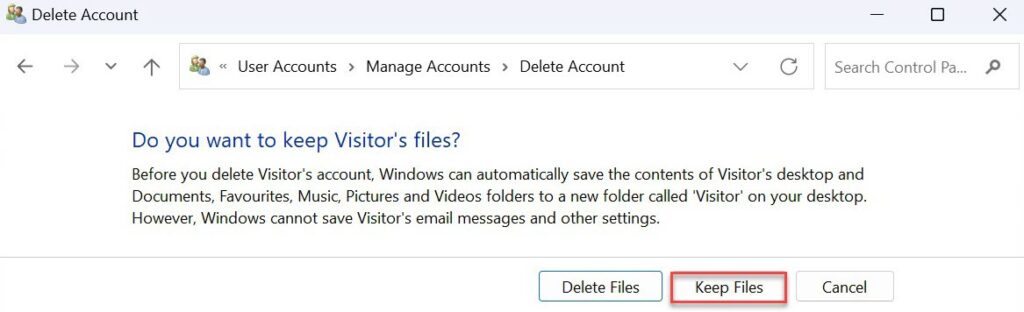
If you prefer to keep the files of a user account just in case, there is a third option available. Deleting an account through the Control Panel allows you to preserve a folder containing their essential data within File Explorer.
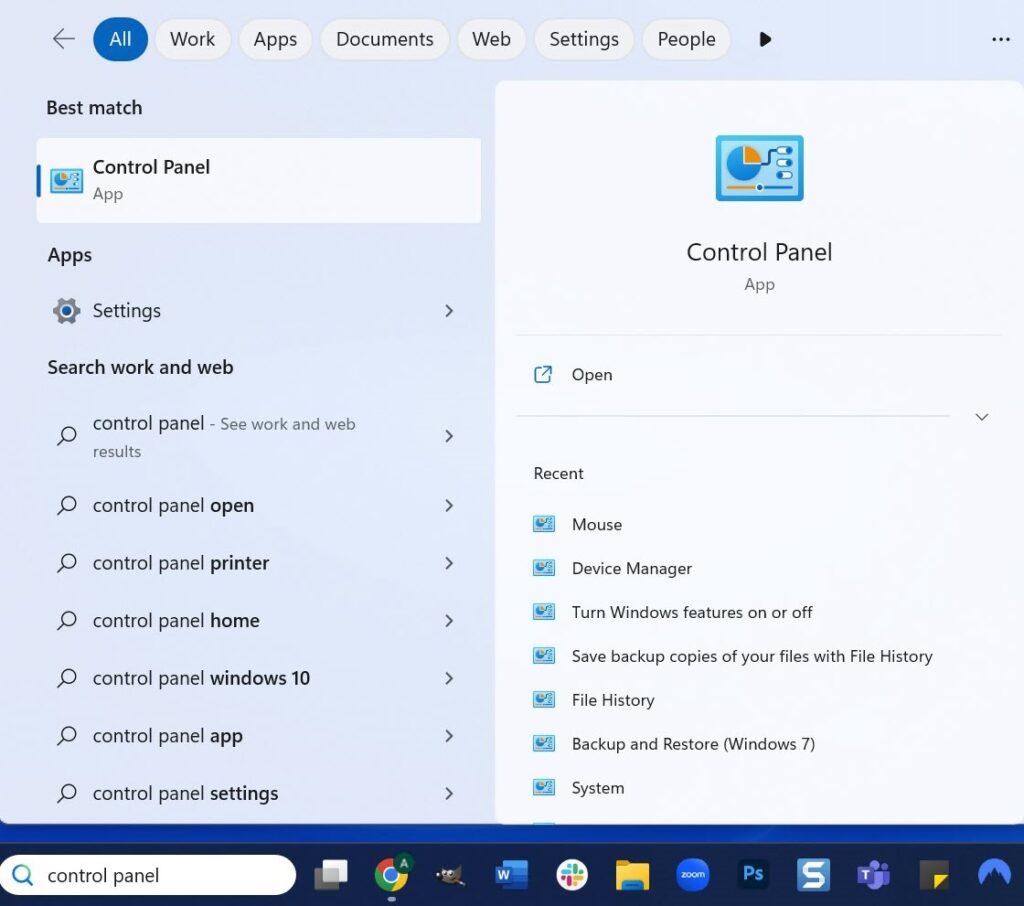
1 – Type ‘control panel‘ in the search bar located next to the Start menu and open the corresponding app.
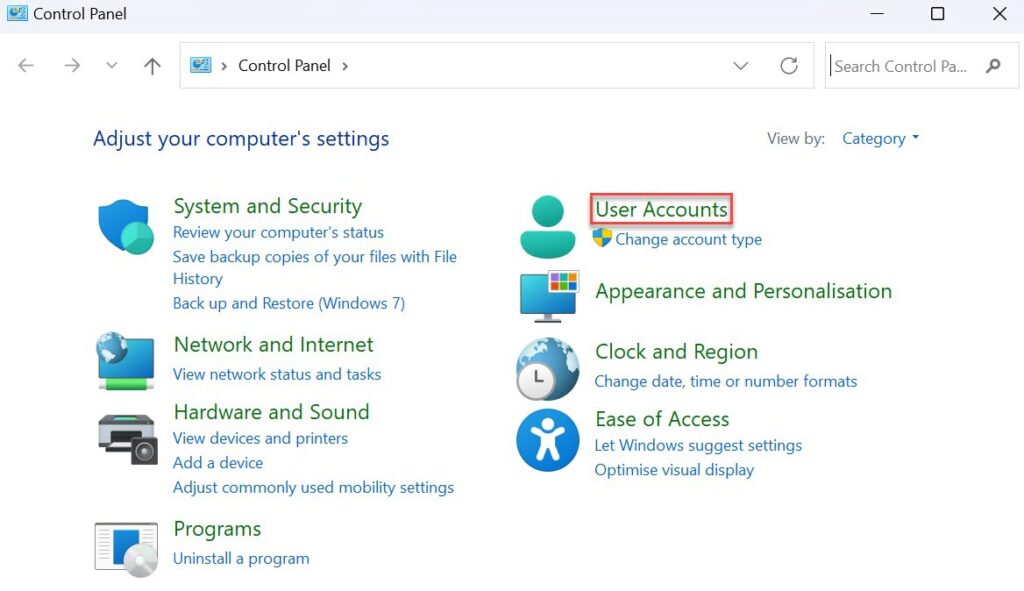
2 – On the Control Panel home screen, click on ‘User Accounts.’
3 – On the subsequent screen, click on ‘Add or remove user accounts.’

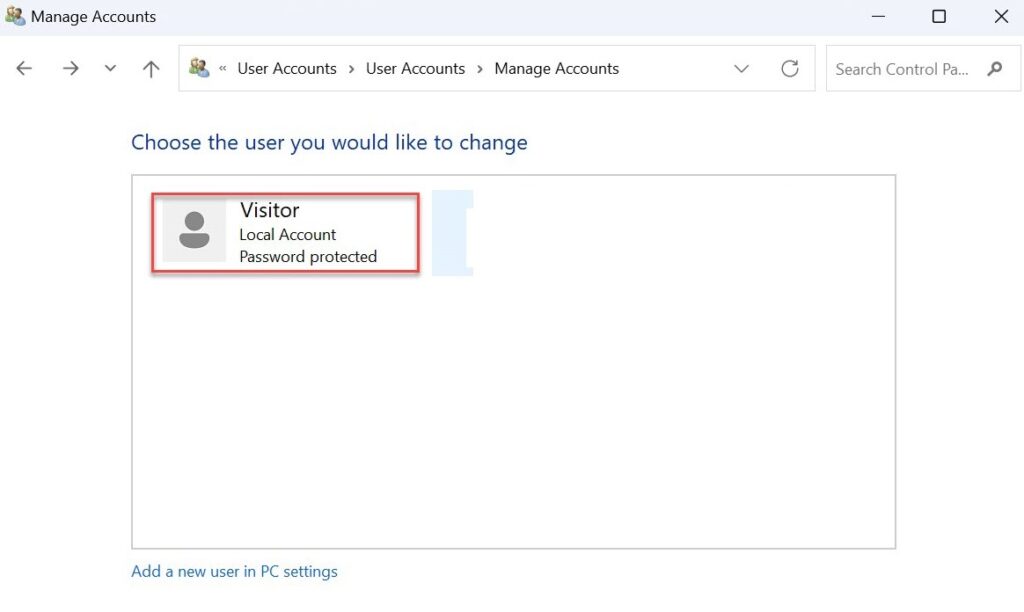
4 – Select the account you wish to delete by clicking on it.
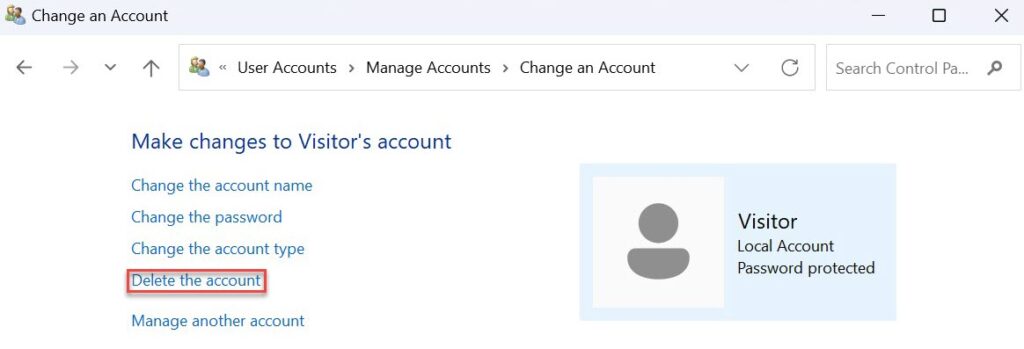
5 – Click on ‘Delete the account.’
6 – On the following screen, select ‘Keep Files.’
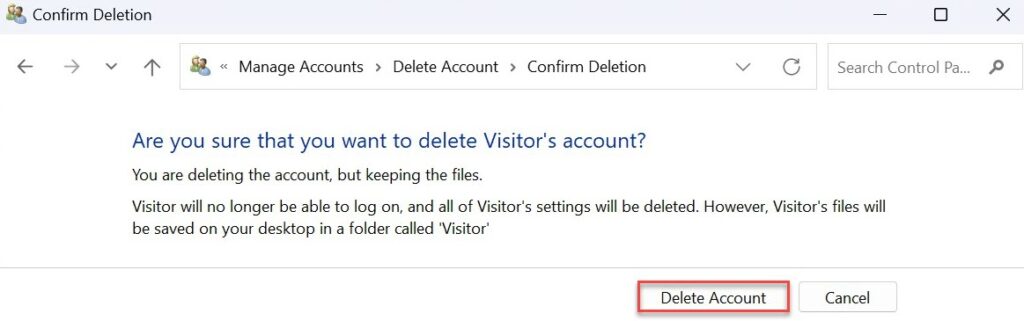
7 – Click on ‘Delete Account‘ to confirm your selection.
Recommended For You: Best E-reader 2023